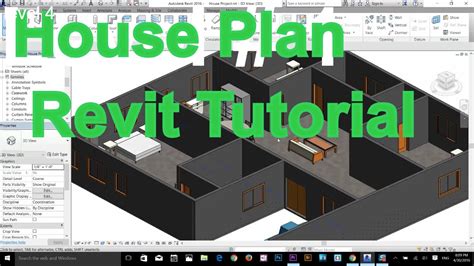

How to Start Drawing in Revit: A Comprehensive Guide (In 10 Easy Steps)
Introduction
Revit is a powerful Building Information Modeling (BIM) software that enables architects, engineers, and contractors to design, visualize, and document building projects with an unparalleled level of accuracy and efficiency. Whether you are a beginner or an experienced designer, this guide will provide you with the essential steps to start drawing in Revit and elevate your design process.

Step 1: Install Revit and Set Up Templates
Before embarking on your Revit journey, you must install the software and create a new project based on a suitable template. Revit offers a range of templates tailored to different project types, such as residential, commercial, and infrastructure. Selecting an appropriate template will provide a starting point with project-specific settings, layers, and views.
Step 2: Understand the Interface
Revit’s user interface comprises three primary panels:
- Project Browser: Organizes the project elements and views.
- Properties Palette: Displays the properties of selected elements.
- Ribbon: Provides access to tools and commands.
Familiarizing yourself with these panels will streamline your navigation and enhance your productivity.
Step 3: Draw Walls and Floors
Walls and floors are the foundational elements of any architectural design. To draw a wall in Revit, select the “Wall” tool from the ribbon and click to specify the start and end points. Repeat this process to create walls for the entire perimeter of the building. Similarly, to draw a floor, select the “Floor” tool and outline the desired area.
Step 4: Add Doors and Windows
Once the walls are in place, you can add doors and windows to provide access and natural light. Select the “Door” or “Window” tool and click on the wall where you want to insert them. Revit automatically aligns the doors and windows with the wall, making it easy to create realistic openings.
Step 5: Define Levels
Levels represent the different stories or elevations of a building. To create a level, select the “Level” tool and specify the height from the origin. Adding multiple levels allows you to organize the project vertically and create plans for each level.
Step 6: Create Spaces
Spaces are enclosed areas within a building that serve a specific purpose. To create a space, select the “Space” tool and outline the desired area. Spaces are essential for calculating floor areas, assigning room numbers, and performing space planning.
Step 7: Add Components and Fixtures
Components and fixtures include furniture, equipment, and other objects that enhance the functionality and aesthetics of a building. To add a component, select the “Insert” tab on the ribbon and browse through the library of available items. Revit allows you to place components with precision and adjust their properties to match your design specifications.
Step 8: Create Views
Views are representations of your Revit model that serve various purposes. To create a plan view, select “Plan View” from the “View” ribbon. You can zoom, pan, and rotate the view to explore your design from different perspectives. Other types of views include sections, elevations, and 3D perspectives.
Step 9: Collaborate and Share
Revit supports collaboration among multiple users, enabling teams to work simultaneously on the same project. Sharing your Revit model with clients and consultants allows them to review and provide feedback, facilitating iterative design and stakeholder buy-in.
Step 10: Export and Present
Once your design is complete, you can export it into various formats, including DWG, PDF, and IFC. Revit also enables you to create realistic renderings and walkthroughs to present your design in a visually appealing way.
Conclusion
Drawing in Revit unlocks countless possibilities for architectural design and collaboration. By following these 10 steps, you can master the basics of Revit and embark on creating high-quality building models that meet the demands of modern construction. As you gain experience, you will discover the advanced features and capabilities of Revit, empowering you to design and document complex projects with precision and efficiency.
Frequently Asked Questions (FAQs)
-
Can I use Revit for residential design?
Yes, Revit is suitable for both residential and commercial projects. It provides tailored templates and tools specifically designed for residential design. -
Is Revit difficult to learn?
Revit has a learning curve, but it is not overly complex. By following this guide and practicing regularly, you can become proficient in Revit within a reasonable time frame. -
What are the benefits of using Revit?
Revit offers numerous benefits, including improved accuracy, enhanced collaboration, reduced construction time, and the ability to create high-quality documentation. -
Can I import designs from other software into Revit?
Yes, Revit supports importing DWG and IFC files, enabling you to integrate designs created in other CAD software. -
How do I create custom components in Revit?
You can create custom components by using Revit’s Family Editor. This tool allows you to define the geometry, parameters, and materials of custom elements. -
What are the best practices for drawing in Revit?
Best practices include using layers, organizing views, naming elements appropriately, and utilizing templates to maintain consistency. -
Is Revit a good choice for interior design?
Yes, Revit is well-suited for interior design. It enables you to create detailed layouts, insert furniture and fixtures, and generate realistic renderings. -
Can I use Revit for landscape architecture?
While Revit is primarily used for architectural design, it does provide some features for landscape architecture, such as site planning and 3D modeling of terrain.


